Trying to read a chest X-ray without a system is like trying to find a specific person in a crowded stadium by just wandering around. You might get lucky, but you'll probably miss what you're looking for. The secret to interpreting a chest X-ray isn't just about memorizing what pneumonia looks like; it's about building a bulletproof, repeatable method every single time you look at a film.
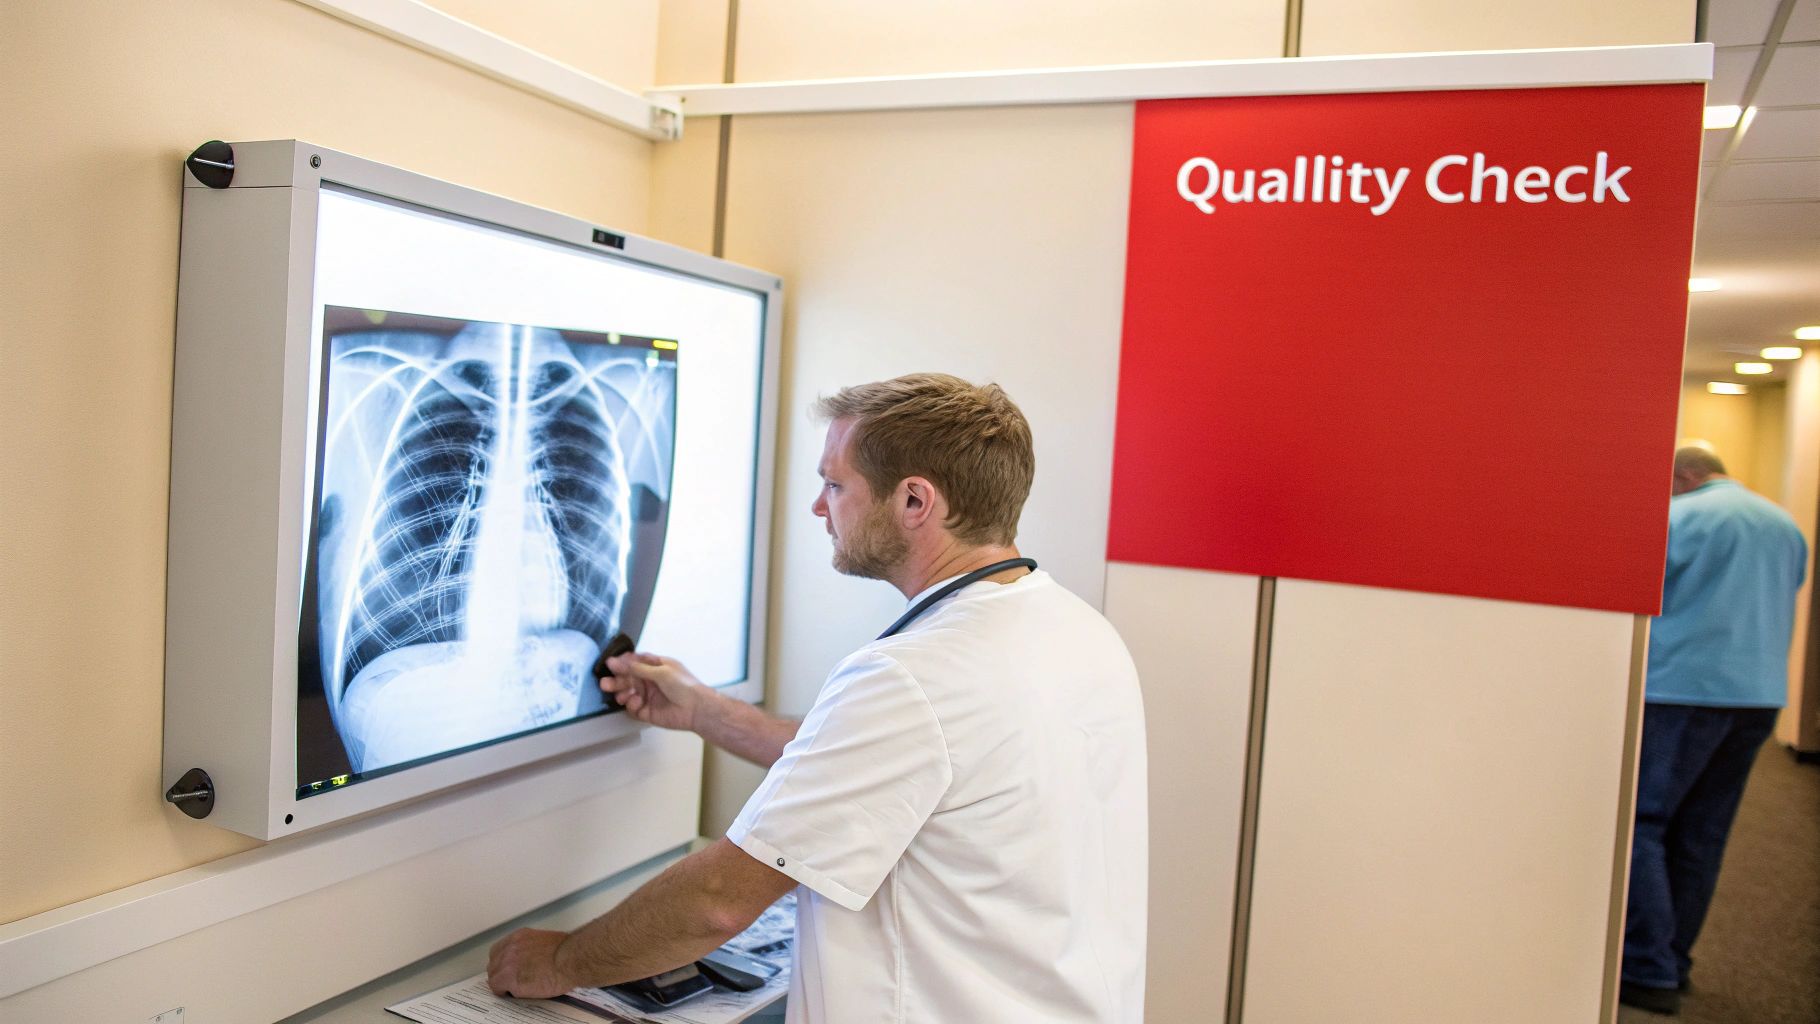
And that method always starts with a quality check. This initial step is non-negotiable—it's what stops you from mistaking a technical glitch for a real disease.
Building a Reliable CXR Interpretation Method
Before you even think about the lungs or heart, your first job is to confirm you’re looking at the right image for the right person. Always check the patient’s name and date of birth. It seems painfully obvious, but getting this habit down will save you (and a patient) from a major error one day.
Once you’ve done that, it's time to assess the quality of the film itself. A technically poor X-ray can create illusions of pathology or, even worse, completely hide real findings. The easiest way to do this systematically is to use the RIPE mnemonic.
Rotation Check for Symmetry
First up, check for rotation. If the patient was twisted even slightly when the image was taken, it can completely distort the anatomy. The heart can look bigger, the mediastinum can look wide, and the hila can become obscured.
To check this, find the medial (inner) ends of both clavicles. Now, find the spinous process of the thoracic vertebra sitting between them.
- Good Alignment: The spinous process should be dead center, an equal distance from each clavicular head.
- Rotated Film: If the spinous process is closer to the right clavicle, the patient is rotated toward their left. If it’s closer to the left clavicle, they're rotated to their right.
A properly aligned, non-rotated film gives you confidence that what you’re seeing in the center of the chest is an accurate picture of what's really there.
Inspiration for Lung Volume
Next, how good was the patient's inspiratory effort? This one is huge. A film taken on a poor inspiration makes the lungs look crowded and can make the heart appear falsely enlarged (cardiomegaly), tricking you into thinking about conditions like congestive heart failure.
A good, deep breath in expands the lungs and gives you a clear, unobstructed view. You can assess this in about five seconds by counting ribs.
Clinical Pearl: On a well-inspired posteroanterior (PA) chest film, you should be able to count at least 8-10 posterior ribs or 5-6 anterior ribs above the diaphragm. The posterior ribs are the ones that run more horizontally and are usually easier to see.
If you see fewer ribs than that, the film is likely expiratory. That means you need to be extra cautious about interpreting things like basal opacities or a "big" heart.
Projection PA vs AP Views
You absolutely have to know the projection, because it dramatically changes how things look. The two main views you'll see are Posteroanterior (PA) and Anteroposterior (AP).
- PA View: This is your standard, gold-standard view. The patient stands with their chest against the film plate, and the X-ray beam shoots from their back to their front (posterior to anterior). This setup minimizes magnification of the heart.
- AP View: This is typically a portable X-ray done on patients who are too sick to stand. The film is placed behind their back, and the beam shoots from front to back (anterior to posterior). This magnifies the heart and mediastinum, making them look larger than they are.
How can you tell the difference? AP films are usually marked "AP," and you'll often see that the patient is lying down (supine). Another great clue is the scapulae (shoulder blades). On a good PA film, the patient rolls their shoulders forward to move the scapulae out of the lung fields. On an AP film, the scapulae are almost always superimposed right over the lungs.
Exposure Technical Quality
Finally, look at the exposure—how "bright" or "dark" the film is. This tells you if the right amount of radiation was used to create the image.
An easy rule of thumb for a perfectly exposed film is that you should be able to just barely see the thoracic spine through the shadow of the heart.
- Overexposed (too dark): The lung fields will look almost jet black. It’s easy to miss subtle things like fine opacities or small nodules because they've been "burned out" by too much radiation.
- Underexposed (too light): The film looks washed out and white. This is dangerous because the lungs can appear diffusely opaque, mimicking or hiding real pathology like pneumonia or pulmonary edema.
Mastering this RIPE quality check is the foundation of solid CXR interpretation. It’s the professional habit that grounds your entire read, prevents you from chasing artifacts, and builds the confidence you need to make the right call.
A Systematic Approach to Reading Chest X Rays
Randomly scanning a film is a surefire way to miss something important. The best defense against diagnostic error is a repeatable system—a mental checklist you run through for every single image, no matter how simple or complex it seems.
This structured process is the cornerstone of strong diagnostic abilities and a key element of mastering the art of what is clinical reasoning. Think of it less as a memory aid and more as a professional workflow.
The most trusted and high-yield system for chest X-ray interpretation is the ABCDE mnemonic. It forces you to look at specific structures in a specific order, guaranteeing nothing critical gets overlooked.
A is for Airway
Your first stop inside the chest is the airway. You need to trace the trachea down to the carina, where it splits into the right and left mainstem bronchi.
Is the trachea midline? A subtle deviation can be an incredibly important clue. For example, a massive pleural effusion or a tension pneumothorax can create enough pressure to literally push the entire mediastinum—trachea included—to the opposite side. This isn't just an academic finding; it's a medical emergency.
Also, check the angle of the carina itself. Normally, it's between 60 and 100 degrees. A splayed or widened carinal angle can be a subtle sign of subcarinal lymphadenopathy or even left atrial enlargement.
B is for Breathing (Lungs and Pleura)
Next, move to "Breathing," which covers the lungs and the pleural space. This is where you'll find many of the most common pathologies.
Start by comparing the two lungs—they should be roughly symmetrical in lucency (darkness). Scan the entire lung field on both sides, from the apices (the very top) all the way down to the bases. Look for any opacities, nodules, masses, or consolidations that shouldn't be there.
Pay special attention to the pleura, the thin lining around the lungs. You're hunting for the visceral pleural line—a fine, sharp white line that screams pneumothorax. Also, check the costophrenic angles, those pointy corners where the diaphragm meets the ribs.
Clinical Pearl: Blunted costophrenic angles are a classic sign of a pleural effusion. Fluid collects in the most dependent part of the chest, obscuring that sharp angle. This is one of the first things you should look for in a patient with shortness of breath.
C is for Cardiac Silhouette
Now, zoom in on the heart and mediastinum. First, get a sense of the size of the cardiac silhouette. On a standard PA film, the heart's width should be less than 50% of the thoracic width (this is the cardiothoracic ratio). An enlarged heart shadow suggests cardiomegaly, a key finding in conditions like congestive heart failure.
Trace the borders of the heart. Is the right heart border sharp and crisp? If it's blurred, that could indicate a right middle lobe pneumonia, as the consolidated lung blurs the normally clear edge. This is the famous "silhouette sign." Similarly, a left lower lobe pneumonia can obscure the left hemidiaphragm.
D is for Diaphragm
Next up is the diaphragm. The right hemidiaphragm is typically a bit higher than the left because the liver sits right underneath it. Both should have a sharp, well-defined dome shape.
Look for any free air under the diaphragm (pneumoperitoneum). This shows up as a sliver or crescent of black (lucency) just below the diaphragm and is a sign of a perforated hollow organ, like a ruptured ulcer. That's a surgical emergency. Also, a flattened diaphragm can be a sign of hyperinflation, often seen in patients with COPD.
E is for Everything Else
The final step, "Everything Else," is your catch-all for the structures you haven't yet inspected. This is a critical step because important findings are often hidden in the bones and soft tissues. Don't skip it.
- Bones: Systematically review the ribs, clavicles, scapulae, and the visible parts of the thoracic spine. Look for fractures, lytic lesions (bone-destroying), or blastic lesions (bone-forming). A missed rib fracture can easily be the hidden cause of a patient's chest pain.
- Soft Tissues: Scan the soft tissues of the chest wall. Are there any unusual swellings, masses, or signs of subcutaneous emphysema (air trapped under the skin, which feels like crackling on physical exam)?
- Hardware: Finally, identify any lines, tubes, or medical devices. Note the position of endotracheal tubes, central lines, pacemakers, and chest tubes to confirm they are correctly placed.
Here is a quick summary table to keep the ABCDE mnemonic straight in your mind.
The ABCDE Mnemonic for CXR Interpretation
| Letter | Stands For | Key Structures to Assess | Common Abnormalities to Note |
|---|---|---|---|
| A | Airway | Trachea, Carina, Mainstem Bronchi | Tracheal deviation, Carinal widening, Foreign bodies |
| B | Breathing | Lungs, Pleura, Hila | Consolidation, Pneumothorax, Pleural effusion, Nodules/masses |
| C | Cardiac | Cardiac silhouette, Mediastinum | Cardiomegaly, Widened mediastinum, Silhouette sign |
| D | Diaphragm | Hemidiaphragms, Costophrenic angles | Free air (pneumoperitoneum), Flattening, Elevation |
| E | Everything Else | Bones, Soft tissues, Hardware | Fractures, Lytic lesions, Subcutaneous emphysema, Tube placement |
By following the ABCDE approach every single time, you build a powerful habit. You move from a random search to a methodical investigation, dramatically increasing your accuracy and confidence in interpreting chest X-rays.
Mastering Normal Anatomy and Common Variants
Before you can spot what's wrong on a chest X-ray, you have to burn the image of "normal" into your brain. I'm not just talking about knowing where the heart and lungs are. It’s about developing an instinct for the subtle curves, densities, and relationships between all the structures in a healthy chest. Building this internal reference library is the only way to reliably tell a true pathology from a simple anatomical quirk.
This visual workflow breaks down the core steps of a systematic review, making sure you hit the key anatomical regions every single time.
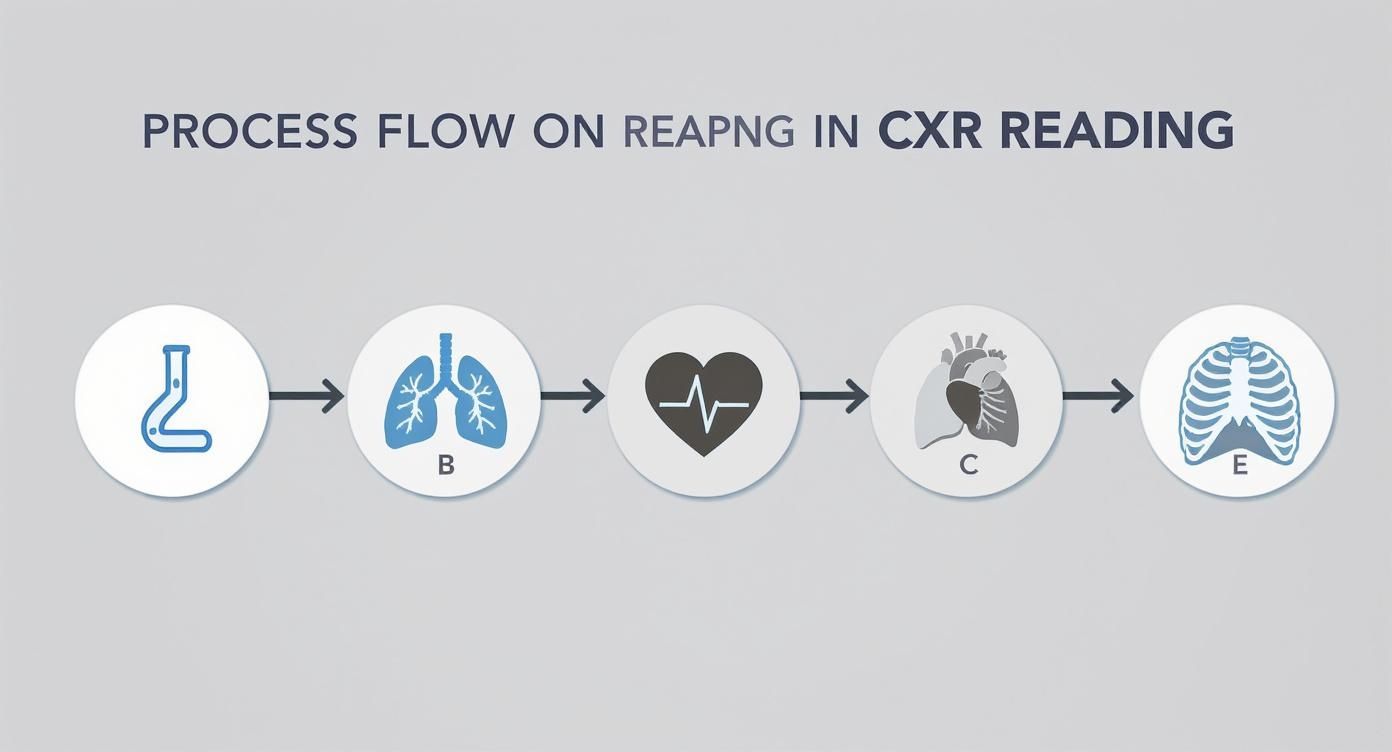
Following a process like this reinforces good habits, moving systematically from the central airways and lungs to the cardiac silhouette and diaphragm, and finally to the surrounding bones. Let’s break down what "normal" actually looks like in these key areas.
The Mediastinum and Hila
The mediastinum is that central hub of the chest, holding the heart, great vessels, trachea, and esophagus. On a good PA film, its borders should be sharp and clean. You should be able to trace the aortic knob, the main pulmonary artery, and the left atrial appendage without any ambiguity.
The hila—the "roots" of the lungs where everything goes in and out—are notoriously tricky.
- The left hilum almost always sits a little higher than the right.
- They should look roughly the same in size and density.
- Look for a nice concave shape. If a hilum looks bulky, convex, or lobulated, it's a huge red flag for lymphadenopathy or a mass.
A classic pitfall is confusing prominent pulmonary vessels for true hilar enlargement. Remember, you should see vessels branching out, but a dense, lumpy hilum is a sign that something else is going on and needs a much closer look.
Lung Fields and Vasculature
The lung parenchyma should look symmetrically dark, or lucent. It’s absolutely critical to scan every corner of the lungs, especially the apices hiding behind the clavicles and the retrocardiac space tucked behind the heart. These are common hiding spots for pathology.
You'll see pulmonary blood vessels as branching white lines that should gracefully get smaller as they spread out from the hila toward the edges of the lungs. Because of gravity, the vessels in the lower lobes are normally bigger and more prominent than those in the upper lobes. If that normal gradient is lost or reversed, it can be a subtle sign of pulmonary venous hypertension.
Using the right language to describe these findings is vital for exams and rounds. For a solid review, check out this guide on foundational medical terminology study guide to make sure your descriptions are spot-on.
Avoiding the Trap of Normal Variants
Not every weird thing you see on a chest X-ray means disease. The body has tons of anatomical variants that can look like scary pathology to the untrained eye. Knowing these will save you (and your future patients) from a lot of unnecessary stress and workup.
Here are a few high-yield variants you are guaranteed to see:
- Azygos Lobe: This is one of the most common, showing up in about 1% of the population. It’s not a real lobe but a part of the right upper lobe sectioned off by the azygos vein, creating a delicate, curved line called the "azygos fissure."
- Dextrocardia: A congenital condition where the heart is flipped over to the right side of the chest. If all the visceral organs are mirrored, it’s called situs inversus.
- Pectus Excavatum: This is a sunken sternum. On a PA film, it can push the heart to the left and create a hazy opacity over the right heart border, which is easily mistaken for a right middle lobe pneumonia.
Recognizing these variants is all about mileage—seeing hundreds of films. The goal is to build a robust mental library of what "normal" can look like, in all its different flavors. This solidifies your foundation, allowing you to interpret films with more confidence, knowing you can distinguish a benign quirk from a true disease process.
Identifying High-Yield Pathologies on a CXR

Alright, you've got the basics of normal anatomy down and a systematic approach in your back pocket. Now for the exciting part—spotting what's wrong. This is where you start acting like a true clinician, connecting the radiographic shadows to a patient's disease.
Learning to recognize these patterns is a make-or-break skill on the wards and, frankly, on your board exams. We're going to walk through the classic appearances of the most common, high-yield conditions you’ll see day in and day out. The goal isn't just to memorize signs, but to understand why they look that way. That's the secret to real diagnostic thinking.
Consolidation and Lobar Pneumonia
When you think lung pathology, pneumonia is usually the first thing that comes to mind. The radiographic hallmark of lobar pneumonia is consolidation. This is just a fancy term for any process that fills the normally air-filled alveoli with fluid, pus, or other gunk, making that part of the lung look opaque or white.
Think of the lung like a sponge. Normally, it's full of air. But if you soak that sponge in water, it becomes a dense, solid block. That's exactly what you're seeing in pneumonia—air space disease.
A dead giveaway for consolidation is the presence of air bronchograms. These are dark, branching lines of air-filled bronchi that suddenly become visible against the white, consolidated lung tissue. Seeing these is a huge clue that the opacity is inside the lung parenchyma.
Clinical Scenario: A 65-year-old man comes in with a cough, fever, and right-sided chest pain. His X-ray shows a sharp opacity in the right middle lobe that completely obscures the right heart border. This is the classic silhouette sign in action, confirming the consolidation is in the right middle lobe and pointing you straight to the diagnosis.
Pleural Effusion
A pleural effusion is simply fluid in the pleural space—that potential space between the lung and the chest wall. Fluid is denser than air, so it looks white on an X-ray. And thanks to gravity, it always settles in the most dependent parts of the chest.
On an upright film, the very first place fluid gathers is the posterior costophrenic sulcus, which you can only spot on a lateral view. As the fluid builds up, it starts to blunt the sharp lateral costophrenic angles on the PA view. This is often the first sign you'll see.
With a larger effusion, you’ll see the classic meniscus sign—a distinct concave upper border where the fluid appears to creep up the sides of the chest wall. In massive effusions, the whole hemithorax can be whited out, often pushing the mediastinum and trachea to the opposite side from the pressure.
Pneumothorax: The Collapsed Lung
A pneumothorax is air in the pleural space, which breaks the seal holding the lung open and causes it to collapse. This is a can't-miss diagnosis, especially a tension pneumothorax, which is a true medical emergency.
The key radiographic finding you're hunting for is the visceral pleural line. This is a razor-thin, sharp white line that marks the edge of the collapsed lung. The most important part? You will see no lung markings (the normal web of pulmonary vessels) beyond this line—just pure black, empty space.
Spotting a small pneumothorax can be tough. Here’s a pro tip: if you’re suspicious, get an expiratory film. Expiration reduces the total volume of the chest, making that small pocket of pleural air relatively larger and much easier to see.
Atelectasis: Volume Loss
Atelectasis is just a loss of lung volume, otherwise known as a collapse of lung tissue. This is fundamentally different from consolidation. In consolidation, the space is filled with something. In atelectasis, the air is just gone, causing the lung to shrink.
This volume loss creates a vacuum effect, pulling nearby structures towards the area of collapse. This is the single most important feature that helps you tell it apart from other opacities.
Look for these tell-tale signs of volume loss:
- Tracheal deviation toward the affected side
- Elevation of the hemidiaphragm on the same side
- Crowding of the ribs over the collapsed area
- Fissure displacement, where a fissure is pulled toward the problem
These findings are bread-and-butter for your internal medicine clerkship and are tested constantly. For a deeper dive into high-yield topics, our comprehensive Internal Medicine Shelf review can help lock in these concepts.
Congestive Heart Failure
Congestive Heart Failure (CHF) is a clinical syndrome that produces a whole constellation of classic findings on a chest X-ray. It’s a perfect example of how you can integrate multiple signs to build a convincing diagnosis. The mnemonic "ABCDE" can be a lifesaver here.
- A – Alveolar Edema: You'll see bilateral, often central or "batwing," opacities as fluid floods the alveoli.
- B – Kerley B Lines: These are short, thin, horizontal lines at the very edges of the lower lung zones. They represent fluid-thickened interlobular septa.
- C – Cardiomegaly: The heart looks big, with a cardiothoracic ratio greater than 50% on a standard PA film.
- D – Dilated upper lobe vessels: This is called cephalization. Increased pressure forces blood flow to redistribute to the upper lobes, making those vessels look more prominent than the lower lobe vessels.
- E – Effusions: Small, bilateral pleural effusions are very common, showing up as that tell-tale blunting of the costophrenic angles.
Recognizing these key patterns transforms a chest X-ray from a confusing black-and-white image into a rich source of diagnostic information. It’s this skill that allows you to build a strong differential diagnosis and truly guide patient care.
High-Yield Pathologies and Their CXR Signs
To help you quickly differentiate these common findings on exam day or a busy ward rotation, it's useful to have their key features side-by-side. This table breaks down what to look for and what makes each pathology unique.
| Pathology | Classic Radiographic Sign(s) | Key Differentiator |
|---|---|---|
| Pneumonia | Consolidation, air bronchograms, silhouette sign | Air bronchograms confirm the opacity is within the lung parenchyma. |
| Pleural Effusion | Blunting of costophrenic angles, meniscus sign | Fluid density with a concave meniscus; gravity-dependent. |
| Pneumothorax | Visceral pleural line, absence of lung markings beyond the line | Sharp pleural line with no vessels in the peripheral black space. |
| Atelectasis | Opacity with signs of volume loss (e.g., tracheal shift toward) | Structures are pulled towards the opacity due to volume loss. |
| CHF | Cardiomegaly, Kerley B lines, cephalization, alveolar edema | A constellation of findings; often bilateral and symmetric. |
Mastering this table is a high-yield way to score points and make confident calls. Pay close attention to the "Key Differentiator" column—that's where the money is when you have to choose between two similar-looking films.
The Growing Role of AI in CXR Interpretation
https://www.youtube.com/embed/kFxfqj8V3gc
Radiology is changing fast, and artificial intelligence is at the heart of it. AI and deep learning algorithms aren't just concepts from a sci-fi movie anymore; they're becoming real-world tools that are reshaping how we approach medical imaging, especially the humble chest X-ray. This tech is fundamentally altering the workflow for reading films.
Think of it this way: these AI systems are trained on massive datasets—we're talking hundreds of thousands of chest X-rays. By churning through all these images, the algorithms learn to pick up on the subtle patterns tied to specific pathologies.
They can flag things a human eye might initially skim over, like a tiny lung nodule or a faint pneumothorax. It’s like having a hyper-vigilant second set of eyes on every single film.
How AI Augments Clinical Practice
There's a common myth that AI is coming to take doctors' jobs. That's not the goal. Instead, think of these tools as powerful assistants designed to work alongside clinicians.
Their main purpose is to boost diagnostic accuracy and make workflows more efficient. This is especially true in high-volume settings like the ER, where fatigue can easily set in after a long shift of reading film after film.
By highlighting potential areas of concern, AI can guide a clinician's attention to findings that might otherwise be missed. This collaborative approach helps cut down on diagnostic errors and speeds up the interpretation process, which means patients get answers and treatment plans faster. For a concrete example, exploring specific AI applications in lung nodule detection shows just how this technology helps in finding things early.
The ultimate goal of medical AI isn't just to spit out an answer, but to show its work. The best models are being developed to generate a "chain-of-thought" that mimics how an expert radiologist analyzes a film, making the tech more transparent and trustworthy for clinical use.
The Power of Deep Learning Models
The performance of these AI models has become incredibly sophisticated. Deep learning systems have shown they can identify critical findings on chest X-rays with stunning accuracy, often performing on par with human experts.
This isn't just hype; it's been validated in multiple studies. In one major analysis, researchers trained AI models to spot four key findings: pneumothorax, opacity, nodule/mass, and fracture. The results were remarkable.
The models achieved an area under the receiver operating characteristic curve (AUC) of 0.94 for pneumothorax and 0.91 for identifying a nodule or mass. That kind of diagnostic power underscores the potential for AI to be a reliable partner in clinical practice.
As you're learning the ropes of CXR interpretation, understanding the basics of this technology—what it can do, what it can't do, and where it's headed—is quickly becoming a core competency. Being aware of these tools will be essential for your future practice.
Your Top CXR Questions, Answered
Even with the best system, a few tricky questions always pop up when you're getting the hang of chest X-rays. These are the gray areas that can throw you off during a late-night study session or a busy rotation. Let's tackle them head-on to build some real diagnostic confidence.
Atelectasis vs. Consolidation: What’s the Difference?
One of the biggest hurdles is telling atelectasis apart from consolidation. On the film, they both just look like a white opacity. The problem is, they represent completely opposite disease processes.
- Consolidation: Think of this as the lung's air sacs being filled with fluid, like in pneumonia. The lung volume itself doesn't change—it might even look a bit expanded.
- Atelectasis: This is a loss of air. The lung literally loses volume and starts to collapse on itself.
So, what's the giveaway? Look for signs of volume loss. An atelectatic, shrunken lung acts like a vacuum, pulling everything around it towards the opacity. You’ll see the trachea, mediastinum, or diaphragm shift in that direction. With consolidation, you won't see that shift. If anything, a really large consolidation might push structures slightly away.
Is the Lateral View Really That Important?
Yes. Emphatically, yes. It's a common corner to cut, but you'll miss things. A standard posteroanterior (PA) view is a 2D snapshot of a 3D structure, meaning a ton of anatomy gets stacked on top of itself, creating blind spots.
The lateral view is your secret weapon for seeing what's hidden on the PA film. It opens up the retrosternal space (behind the sternum), the retrocardiac space (behind the heart), and the posterior costophrenic sulci. A small pneumonia or a subtle effusion could be completely invisible on the frontal view but screamingly obvious on the lateral.
It’s also how you nail down the location. If you spot an opacity on the PA view, the lateral film confirms which lobe it's in. That’s a critical piece of the puzzle for building an accurate differential diagnosis.
When Do I Ask for Help?
Knowing when to call for backup or get a radiologist's read is a skill, not a weakness. It's what makes you a safe, responsible clinician.
You should always get a second set of eyes in these situations:
- When a finding could change immediate management. If you even think you see something life-threatening like a pneumothorax or aortic dissection, get help. Now.
- When the findings are subtle or just plain weird. You see something that just doesn't look right, but you can't quite put your finger on it. That's a perfect time to ask.
- When you're not sure. Especially early in your training, running your read by a senior resident or attending is one of the best ways to learn. Don't be shy about it.
The good news is that learning has gotten a lot easier thanks to massive, annotated image libraries. Datasets like PadChest, with over 160,000 images, and CheXpert, with more than 200,000 chest X-rays, have been game-changers. These incredible resources are what we use to train both new clinicians and AI algorithms, and you can read the full research to see just how powerful they are.
At Ace Med Boards, we specialize in breaking down complex topics like CXR interpretation into clear, high-yield concepts to help you excel on your exams and in your clinical practice. https://acemedboards.com
